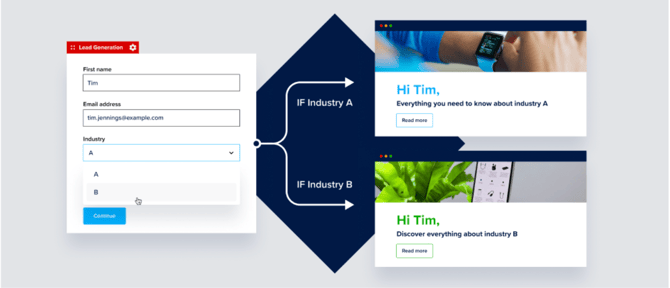
Personalization with lead generation forms allows you to create fully customized Foleon Docs even if you don't have information about the viewer yet. Use a gated form to ask for details, such as first name or industry, and use this to tailor the content to the viewer by showing only relevant pages or addressing them personally.
⚠️ This feature is not available for all plans. If you want access to personalization with lead generation forms, contact us here.
In this article
What is personalization with lead generation forms?
Personalization is typically based on information you already have, such as a viewer’s name, industry, or company. This allows you to address them personally or display only relevant pages.
But what if you don't have that information yet? This is where our native lead generation forms come in. These forms allow you to gather information and details directly from your audience and use this as input for personalized content.
✨ Here's how it works:
- Visitors provide details through a lead generation form in your Foleon Doc.
- The content adapts dynamically to show personalized elements such as names or relevant pages.
- Each visitor gets a unique experience without requiring multiple Foleon Docs or manual content creation.
How to personalize a Doc using lead generation forms
📹 In the video below, we show you how to personalize content with lead generation forms. In this example, we'll create an event magazine that is personalized based on the form.
Step 1: Create personalization properties (Dashboard)
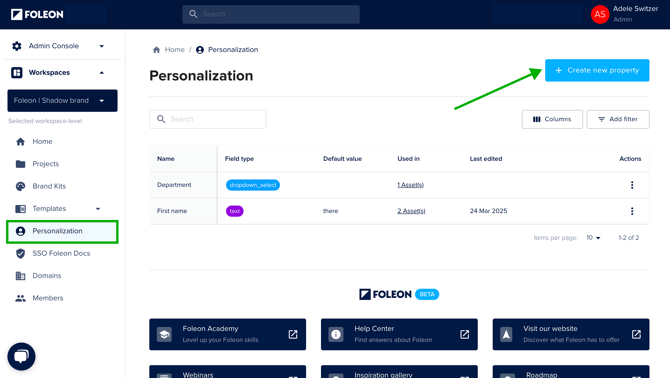
In the dashboard, navigate to your workspace and open the personalization page.
Click on + Create new property.
💡 Only users with the admin or designer role can access the personalization settings.
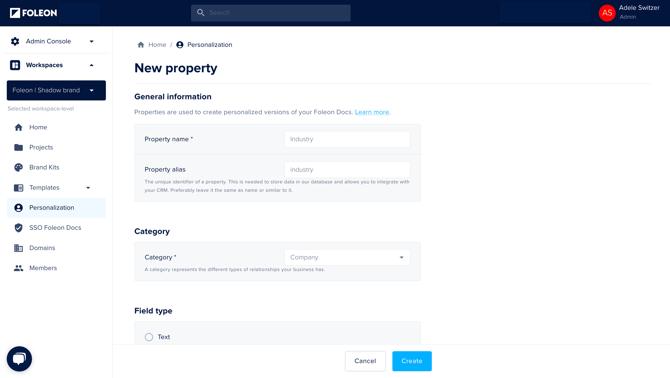
Fill in the following fields:
- Property name: Give your property a name. A typical example here would be First name or Company name.
- Property alias: The unique identifier of a property. This is auto-generated based on the property name but can be modified.
- Category: Choose from either contact or company to categorize your property.
- Field type: Choose from one of the available field types. Where applicable, you'll need to enter the default value—this is used as a fallback text in case personalization data is missing. If choosing a dropdown field, this is where you can create the options.
Click create and your personalization property is now ready to be used in your Foleon Doc!
Step 2: Enter personalization text fields (Editor)
If you want to personalize your content with contact details such as first names or company names, you can insert a personalized text property.
📖 For more information on personalizing with text properties, read our article: Personalize Docs using text properties
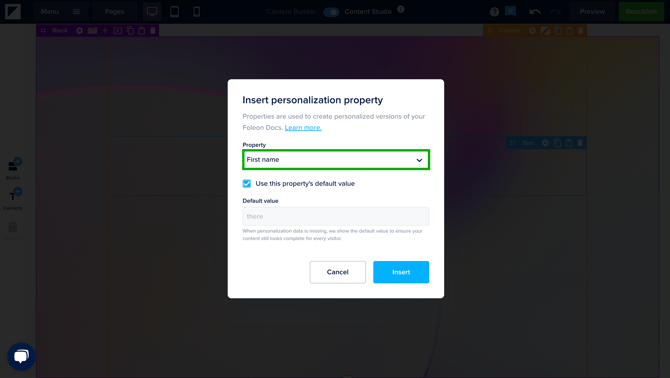
Open the Foleon Doc in the editor and add a text element to your page. Place your cursor in the text where you want to enter your personalization field and click personalize in the top right corner.
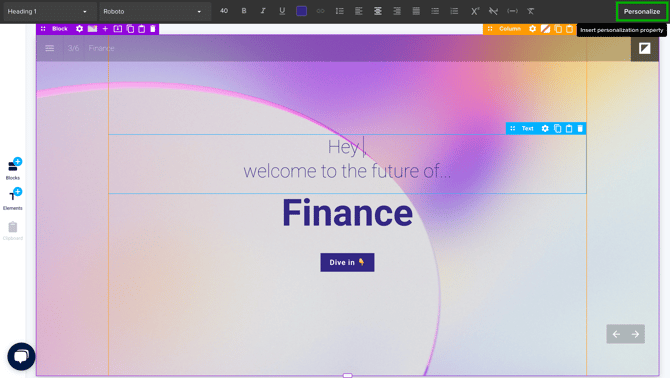
Select the property from the dropdown. Here, you can also choose to change the default value, which is used as the fallback text in case information is missing. Click Insert to add the property to your text element.
Step 3: Set up page conditions (Editor)
If you want to show only certain pages based on the input from the lead generation form, you need to set page conditions.
📖 For more information on page conditions, read our article: Personalize Docs with page conditions
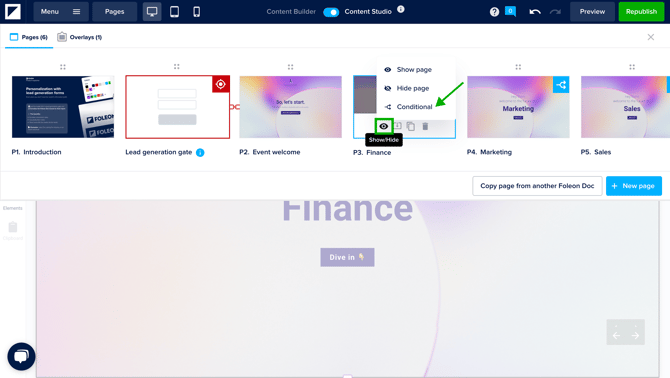
Open the Foleon Doc in the editor and click pages. Click the show/hide icon on the page you want to show conditionally and select conditional.
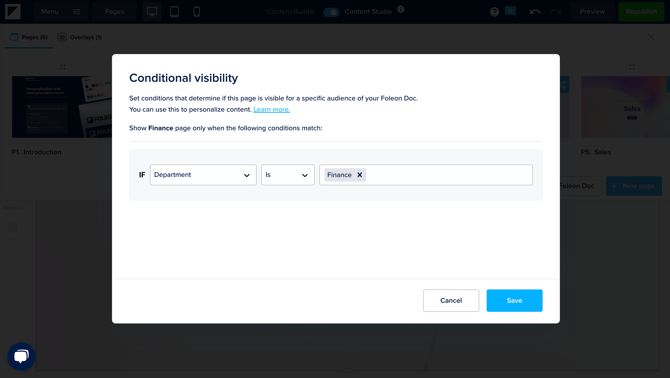
Now, set the conditions that determine when this page is visible.
In the example below, we have set the conditions so that if the viewer selects finance from the department dropdown in the form, then the page is shown.
Repeat these actions to set the page conditions for any other relevant pages. If you don't set any page conditions, the page will be shown to all viewers.
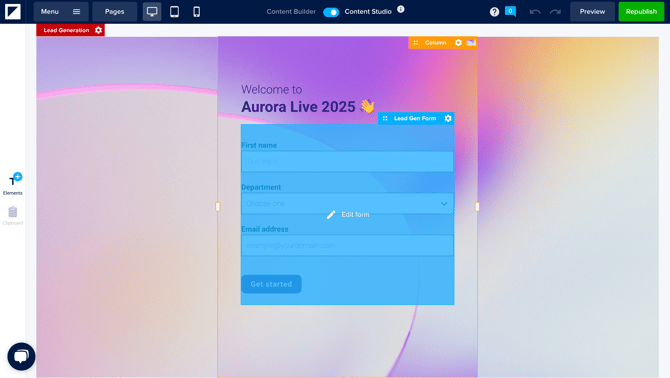
Step 4: Create your form with personalization properties (Editor)
Lastly, we need to add a lead generation gate using a native Foleon form.
📖 For more information on lead generation, read our article: Gating your Foleon Docs for lead generation
⚠️ If you’re generating leads in the European Union, you must include opt-ins with a link to your privacy policy to get proper consent from readers. Read more about this in our blog Foleon and GDPR compliance.
In the editor, go to your Foleon Doc settings and scroll down to the Lead Generation section. Switch on the toggle for gate your Foleon Doc and select the option use a native Foleon form.
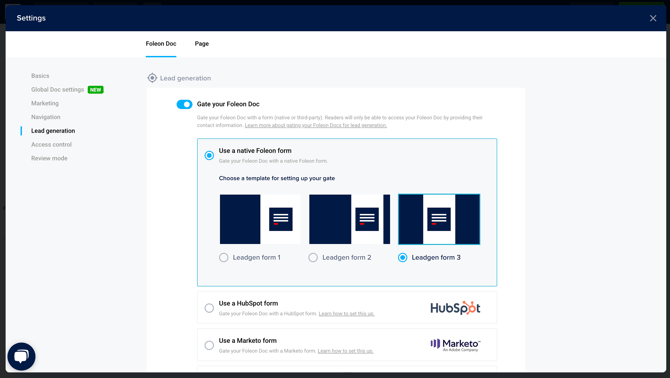
Select one of the templates and click Save. After you've picked a template, you can edit and style the page as you'd like. Add elements and change settings to achieve your desired look.
To edit your form and add a personalization property, hover over your form and click edit form.
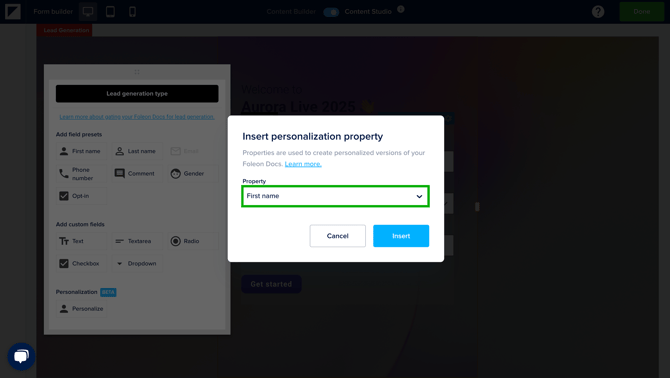
You'll see an option to add a personalization property. Click personalize.

Select the desired property from the dropdown list.
⚠️ If you want to personalize the Doc based on the first name submitted in the form, do not use the preset First name field in the template. Instead, add the first name personalization property.
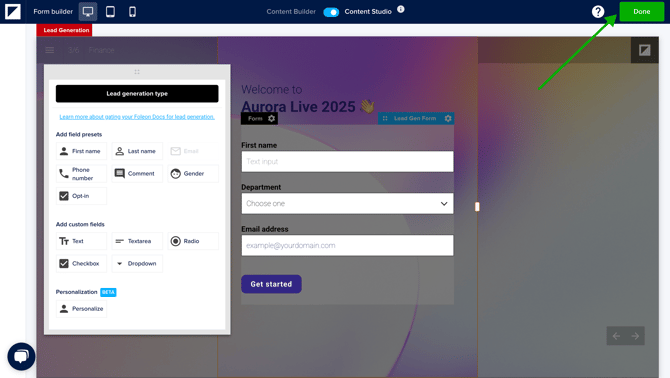
After adding all your desired fields in the form, click Done to close the form builder.
Step 5: Publish your Foleon Doc (Editor)
Once you've finished creating your form and setting up all personalization text properties or page conditions, you are ready to publish your Doc! Click (re)publish in the top right corner.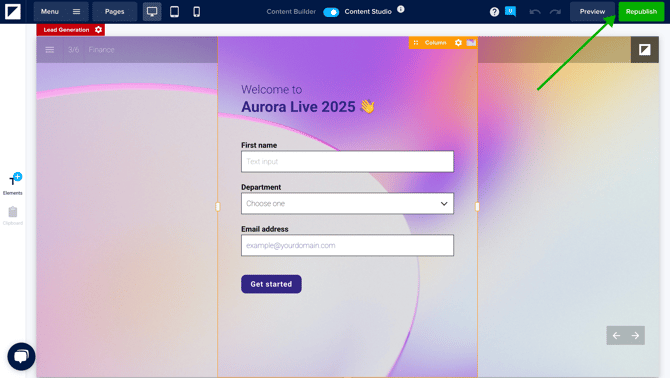
When viewers fill out the lead generation form, the rest of the document will be personalized. For example:
- If they fill in their first name, they will be addressed personally where you've entered in the first name text property.
- If they select they work in Marketing, they will only see the Marketing pages, while the page for the other departments remain hidden.
Edit or archive a property in the Dashboard
Editing a property:
You can only edit a personalization property if it’s not currently used.
Once a property has been added to a Foleon Doc, some fields become locked:
- ❌ You cannot change its Alias, Category, or Field type
- ✅ You can update the Property name, Default value, or Option text
- ✅ For dropdown fields, you can add new options (up to 10)
Archiving a property:
You can’t delete a property, but you can archive it to remove it from your list.
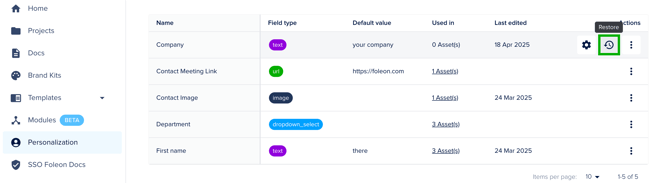
To archive a property, go to the Personalization tab in your dashboard and click the archive icon next to the property you want to remove.
⚠️ Before archiving, you’ll need to remove or replace the property in any Foleon Docs where it’s used. You won’t be able to archive it until this step is complete.

You can restore an archived property anytime by clicking the restore icon.
Why archive instead of delete?
Every property must have a unique alias that is used in our database. Deleting a property could cause issues in the database or with Foleon Docs. That's why we use archiving — a form of soft deletion.
⚠️ If you try to create a new property with the same alias as an archived one, you will receive an error. To continue, edit the alias to a unique value before saving.
Download your form results
You can download all form submissions as a CSV from your dashboard. In the project, open the quick actions menu by clicking on the 3 dots on your Foleon Doc. Under Download, click Download form results. Click Confirm in the pop-up.
After confirming, you'll receive a download link via email.

Alternatively, you can also automatically process and transfer leads from Foleon to 1,000+ other apps through our Zapier integration. Find out how this works in our article: Connecting Foleon to Zapier.
💡 Personalization with lead generation forms does not contribute to the data shown in the Personalization section of your Foleon Analytics.