In this article
Accessing the Media Library
You can access the Media Library in several ways, depending on where you're working in Foleon.
From the Editor
You can open the Media Library while working in a Foleon Doc. There are several ways to do this:
- Click Media Library from the menu on the top left
- Drag an image or video element onto the page
- Replace an image or video on an existing media block.
Once opened, you can browse existing files, preview, organize them, or upload new files.
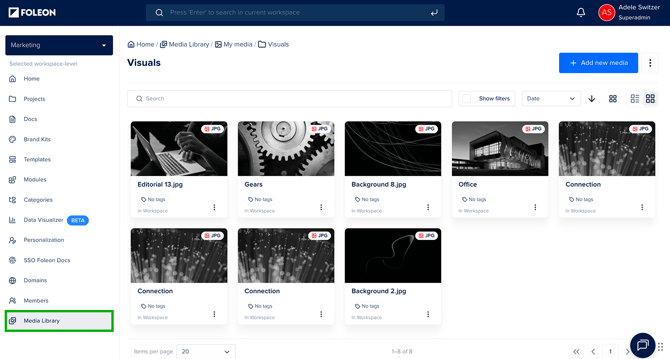
From your Workspace
Open the Media Library directly from your workspace dashboard. In the navigation menu, click Media Library to browse, upload, or organize files at any time.
From the Brand Console
Admins and Designers can manage shared assets in the Brand Console Media Library. These assets can be shared with one or more workspaces so teams can reuse approved media, such as logos, illustrations, or brand visuals.
📖 Once you're in the Media Library, you can upload files, edit images, and manage individual assets. See Upload and manage assets in the Media Library.
💡 Starting a new project or Foleon Doc? Before you begin uploading files, align with your team on how to organize your Media Library.
Supported file types
The Media Library supports the following asset types:
- Images — including PNG, JPEG, WebP, SVG, and GIF
- Lottie files — .lottie format for animated graphics
- Videos — added via a URL from YouTube, Vimeo, Wistia, Brightcove, or a direct .mp4 link, or uploaded directly as a Foleon-hosted video
- Documents — including PDF, Word, Excel, and PowerPoint files
📖 For supported formats, file size limits, and upload instructions, see Upload and manage assets in the Media Library.
Navigating the Media Library
When you open the Media Library, you'll see the interface organized into clear sections. With multiple ways to browse, sort, and preview your media, it's easy to find what you need and keep everything organized.
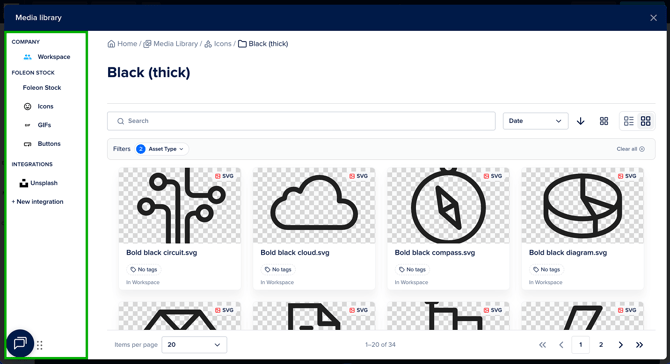
Sections in the Media Library
- Workspace — Your main workspace library. All media uploaded by workspace users appear here. You can organize files using folders, rename items, and manage your team's assets.
-
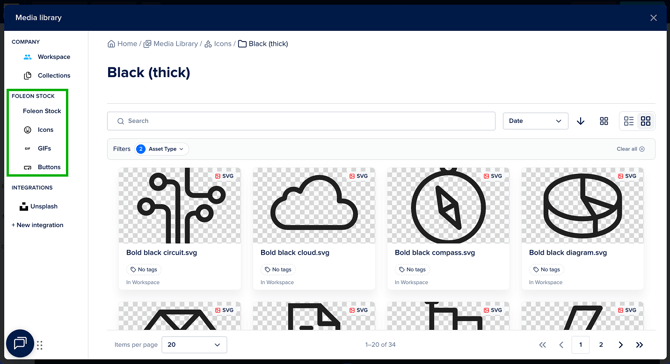
Foleon Stock - A collection of ready-to-use stock media, including images, GIFs, videos, and buttons provided by Foleon. These are only visible when adding or replacing media.
- Integrations - Access content from third-party sources like Unsplash and Digital Asset Managers (DAMs).
View Options
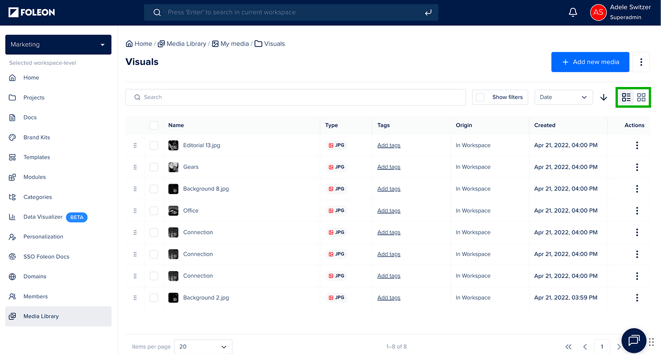
Switch between two views depending on how you prefer to browse:
- Grid view — shows large thumbnails for quickly identifying images or videos visually. Click the grid icon to choose how many tiles you see per row.
- List view — shows detailed information such as file size, file type, and upload date.
You can also sort your Media Library by Date or Name (ascending or descending)
In addition, use the dropdown at the bottom left of the page to control how many items you see on your page. Choose from 10, 20, 50, or 100.
Search and Filter with Tags
Use the search bar to find files by name within the folder you're currently viewing.
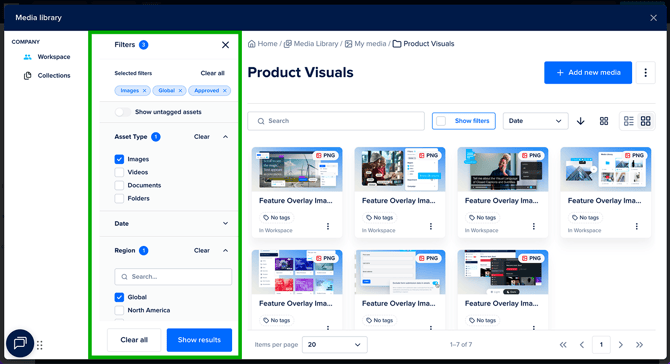
To filter on your entire media library, use the filter panel to sort by tags:
- Click Show filters to open the filter panel.
- Select your filters. You can filter by:
- Asset type (images, videos, documents, folders)
- Origin (Workspace or Brand Console)
- Date created (today, last 7 days, last 30 days, this year, or a custom range)
- Tags (organized by tag group)
- Click Show results to apply your filters.
📖 To learn how to set up and manage tags, see Manage your Media Library with Tags.
📖 To see where assets are used, see Upload and manage assets in the Media Library.
Using external media sources
Foleon Stock
Foleon Stock gives you access to ready-to-use stock images, GIFs, videos, and buttons directly in the Editor. You can access Foleon Stock when you add or replace media while working on a Foleon Doc.
⚠️ Foleon Stock is not available on all plans. Contact us if you'd like access.
Unsplash
The Unsplash integration gives you access to thousands of free stock images without leaving Foleon. It appears in the sidebar when you add or replace an image element, or change a block or column background.
📖 For more details: Working with Unsplash

DAM integrations
Foleon connects directly with leading Digital Asset Management systems, so you can browse and import approved assets without leaving the platform. Supported integrations include Bynder, Aprimo, Sitecore Content Hub, MediaValet, and Marvia.
📖 For setup instructions and full details: Connect your DAM to Foleon
