![foleon_logo_white.png]](https://www.foleon.com/hs-fs/hubfs/foleon_logo_white.png?height=40&name=foleon_logo_white.png)
In this article:
Uploading files
Supported file types
The following file types can be uploaded to the Media Library:
| Images |
.jpg — maximum file size 20MB Raster formats (.jpg, .png, .webp, .gif) also have a maximum limit of 40 megapixels (width × height — e.g. 8000 × 5000 px or 6324 × 6324 px). |
| Lottie Files | .lottie |
| Documents | .pdf, .doc, .docx, .xls, .xlsx, .ppt, .pptx — maximum file size 20MB |
| Videos |
added via a URL from YouTube, Vimeo, Wistia, Brightcove, or uploaded directly as a Foleon-hosted video |
⚠️ You cannot upload password-protected documents to the Media Library.
Upload images, Lottie files, and documents
You can upload images, Lottie files, and documents to the Media Library in two ways:
-
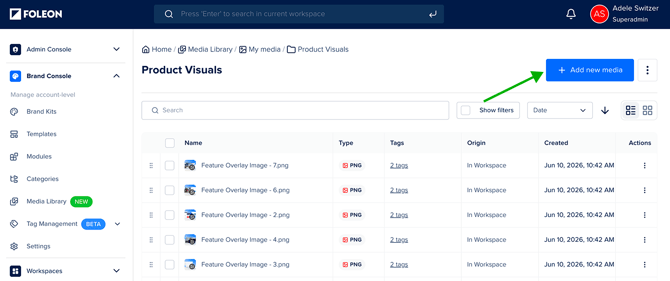
Click + Add new media in the top-right corner.
Drag and drop files into the upload window, or click Upload media to choose files from your computer. -
Drag and drop files directly into the Media Library or into a specific folder.
Files are always uploaded to the folder that is currently open.
📖 Learn more about the image element or background images
Upload videos
In addition to images and documents, you can add videos to the Media Library.
- Click + Add new media in the top-right corner of the Media Library.
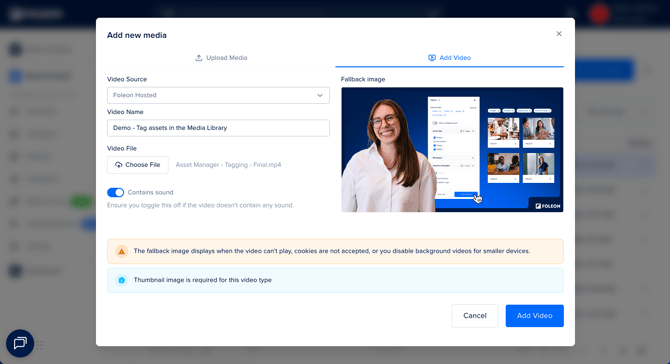
- Select Add video.
- Select your video source from the dropdown and complete the remaining fields outlined below
📖 Learn more about the video element or background videos
YouTube - Name your video and paste the watch URL.
⚠️ Use the standard watch URL format only:
- ✅ Supported: https://www.youtube.com/watch?v=[VIDEO_ID]
- ❌ Not supported: https://youtu.be/[VIDEO_ID] (Share URL)
- ❌ Not supported: https://youtube.com/watch?v=[VIDEO_ID]&list=[LIST_ID] (Playlist URL)
💡 YouTube Shorts are not currently supported. As a workaround, drag and drop an embed element onto your page and replace "shorts" with "embed" in the video URL. For example: https://www.youtube.com/embed/[VIDEO_ID]
Vimeo - Name your video and paste the URL from Vimeo.
Wistia - Name your video and paste the URL from Wistia. Be sure to use one of the supported URL formats:
- https://wistia.com/medias/[VIDEO_ID]
- https://[CUSTOM_SUBDOMAIN].wistia.com/medias/[VIDEO_ID]
- https://wistia.com/embed/medias/[VIDEO_ID]
- https://[CUSTOM_SUBDOMAIN].wistia.com/embed/medias/[VIDEO_ID]
Brightcove - Name your video and paste the URL from Brightcove. Be sure to use the supported URL format: https://players.brightcove.net/[ACCOUNT_ID]/default_default/index.html?videoId=[VIDEO_ID]. To find this URL in Brightcove, click Publish and embed and copy the preview link.
Self-hosted video - Name your video and paste a direct .mp4 URL. The URL must end in .mp4 — it cannot be an embed code or a standard .com link.
💡 If using Cloudflare Stream, use the manifest URL for optimal playback: https://customer-{customer-id}.cloudflarestream.com/{identifier}/manifest/video.m3u8. This enables adaptive streaming for smooth playback across network conditions.
Foleon-hosted video - Upload a video file directly to your Media Library without relying on external platforms. Adjust the fallback image if needed. This image displays if the video cannot play.
⚠️ When embedding videos from a third-party provider, use the direct media link — not an iframe embed URL.
Managing assets
Locate a file from the Editor
When working with large libraries, it can be hard to track down where a specific file is stored. From the Editor, you can quickly navigate to the exact folder a file is in.
- Open your Doc in the Editor and navigate to the image or video you want to locate.
- In the element settings, click Replace.
- If the file is used as a background on a block, column, or card, click Change background, then hover over the image or video and click Replace.
- The Media Library opens in the folder where the file is stored, with the file already selected.
💡 This only works for files stored in the Media Library. If the file comes from an integration such as Unsplash, Aprimo, or Bynder, the Media Library will open your most recent folder location.
See where an asset is used
Before editing, replacing, or removing an asset, you can check which documents are using it. This helps you understand the impact of any changes before you make them.
💡 Asset Usage is available for images and videos only.
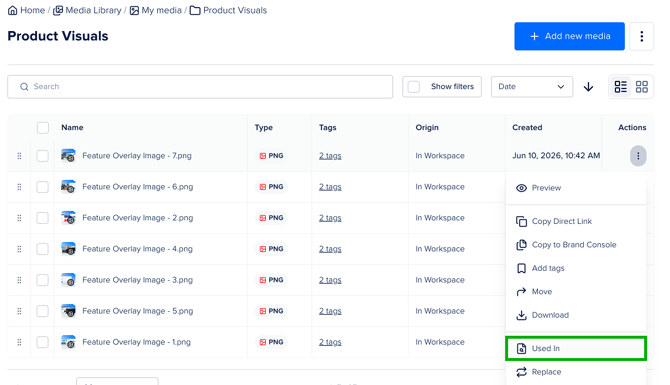
- Find the file in the Media Library.
- Click the quick actions menu (⋮) on the file.
- Select Used in.
- Review the overview of where the file is used:
- 🟢 Live assets — the file is used in a published Doc or asset (green dot)
- ⚪️ Draft assets — the file is used in an unpublished Doc or asset (grey dot)
- Click the link to open the asset in the editor.
Replace an asset
Replace an image once, and every document using it updates automatically, without breaking existing links. This is useful when a file needs to be refreshed across multiple Docs.
💡 Replace Asset is available for images only.
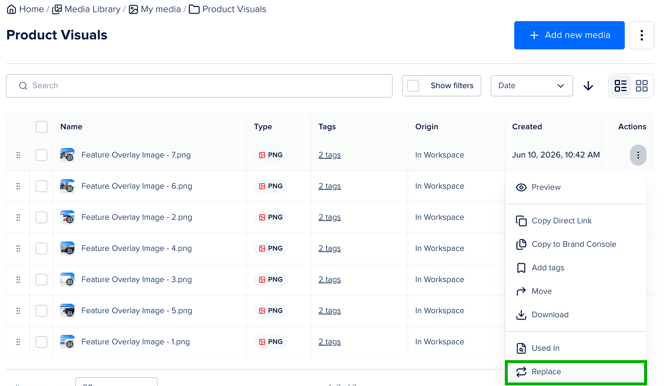
- Find the file you want to replace in the Media Library.
- Click the quick actions menu (⋮) on the file.
- Select Replace.
- Review the list of documents where this file is currently used.
- Click Continue to proceed.
- Upload the new file.
⚠️ Note the following restrictions:
-
The replacement file must be the same file type as the original. If the file type does not match, you will see a Wrong file type error.
- If the new image has a different aspect ratio than the original, it may affect the layout of Foleon Docs, Templates, and Modules where it is used. Review your content after replacing.
- Already published Foleon Docs will not update automatically. To apply the change, republish each Doc that contains the new image.
Download files
To download a file you've previously uploaded to the Media Library:
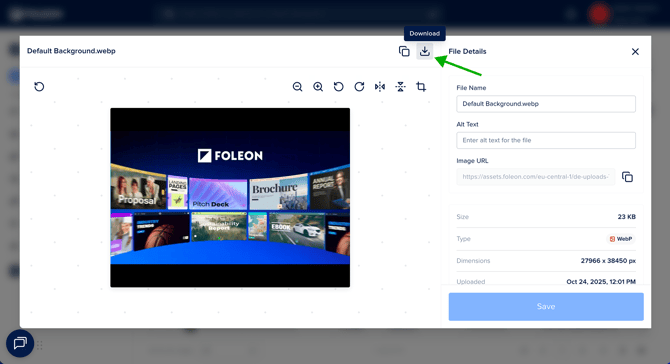
- Double-click a file, or select Preview from the quick actions menu (⋮).
- Click the download arrow in the preview window.