![foleon_logo_white.png]](https://www.foleon.com/hs-fs/hubfs/foleon_logo_white.png?height=40&name=foleon_logo_white.png)
In this article:
What is a Collection?
A Collection is a curated, reusable group of assets built from the tags and filters you choose. Once you set the filters, any asset that matches is included, and stays included as your library changes.
Without Collections, things get messy fast. Assets get lost across folders, files get uploaded again because the original can't be found, and it's not always clear which version is approved.
A Collection solves this by grouping exactly what you need into one reusable set. For example:
- The approved visuals, charts, and copy for a specific product launch
- Your team's most-used brand assets, so everyone works from the same set instead of searching for them each time
- A sales kit for a specific industry, like insurance or financial services
- Onboarding materials for new hires, like logos, brand guidelines, and key templates
- A recurring campaign, like a quarterly newsletter, so the next one starts from an existing set instead of a blank library
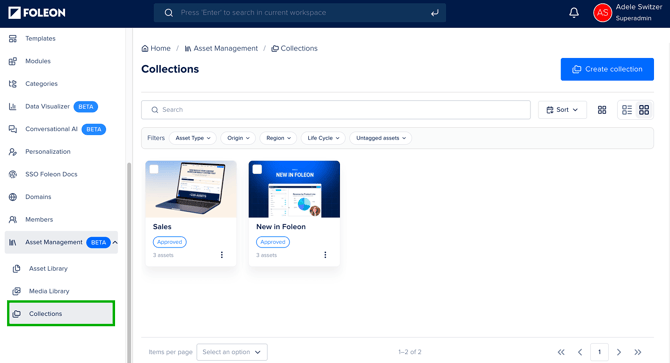
You'll find Collections under Asset Management, either in your Workspace or the Brand Console.
⚠️ Currently, a Collection created in the Brand Console can't be shared to individual Workspaces. It only applies within the Brand Console's Asset Library.
Creating a Collection
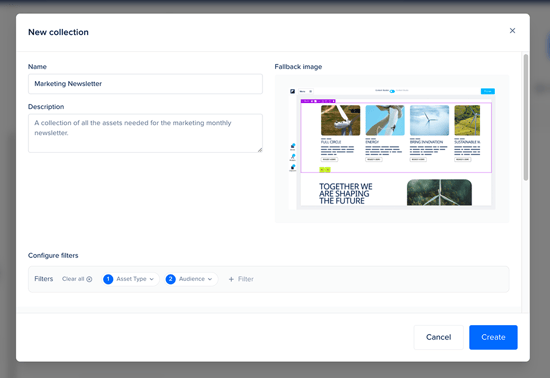
To create a collection:
- Click Create collection (either in the Asset Library or under Collections)
- Enter a name for your Collection.
- Enter a description.
- Add a fallback image (optional). This gives your Collection a visual identifier, so it's easier to spot at a glance.
- Click + Filter to open the filter panel.
- Select the filters you want to apply based on your tag system.
- Click Show results and review the assets to confirm they match what you expect.
- Click Create.
📖 To learn how to set up tag groups and tags, see Manage your Assets with Tags.
Viewing a Collection's assets
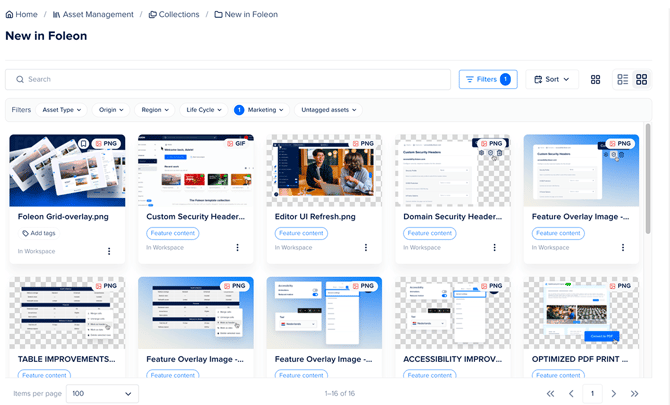
Under Collections, double-click a Collection to see everything inside it.
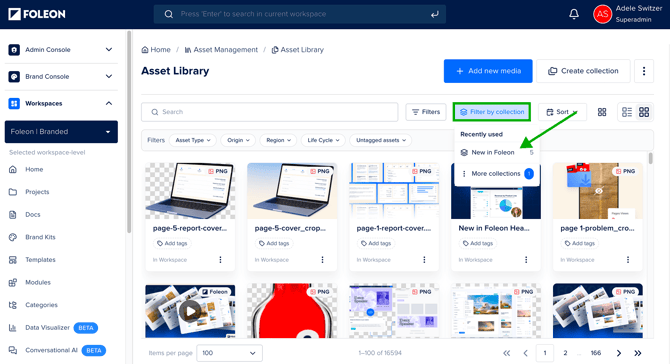
You can also see a Collection's assets from the Asset Library by filtering on that Collection:
- Click Filter by collection.
- If a recently used Collection appears, click it directly. If not, click More collections to open the Collections panel on the left.
- Select the Collection you want to view.
The Asset Library now shows only the assets that belong to the Collection you selected.
📖 For more information: Working in the Asset Library
Editing a Collection
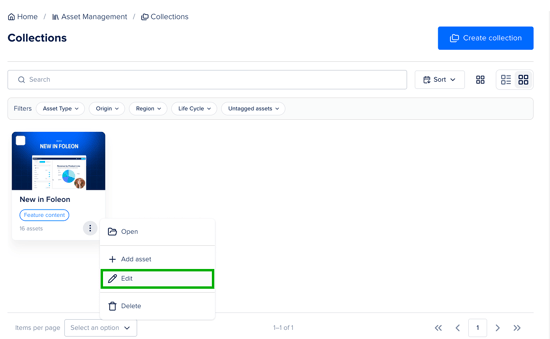
How to edit your Collection:
- Click the three dots (⋮) on the Collection.
- Select Edit.
- Change the name, description, or fallback image, or adjust the filters.
- Click Save.
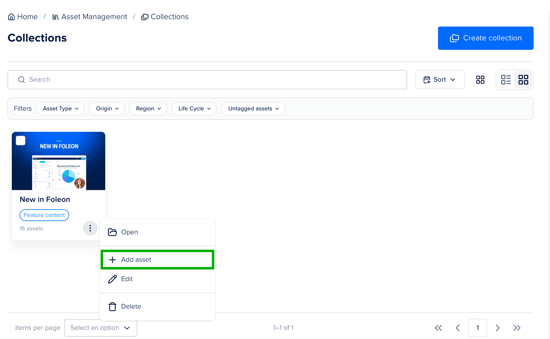
To add an asset to your Collection manually:
- Click the three dots (⋮) on the Collection.
- Select Add asset.
- Choose the asset you want to add.
- Click Choose.
To remove an asset you added manually, click the three dots (⋮) on that asset and select Remove from collection.
If an asset is included because it matches the Collection's tags instead, you can't remove it directly. Remove the relevant tag from the asset, and it no longer appears in the Collection.
📖 Adding an asset manually doesn't apply the Collection's tags to that asset. It only adds the asset to that Collection.
Deleting a Collection
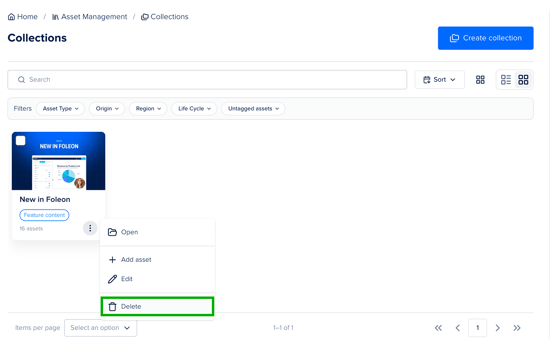
You can delete a Collection you no longer need:
- Click the three dots (⋮) on the Collection.
- Select Delete.
- Click Delete again to confirm.
⚠️ Deleting a Collection can't be undone. The Collection itself is removed, but the assets it contained stay in your Asset Library.